
Guide
Use ready mockups with your print
Open any published mockup, drop in your artwork, and fine-tune it in the built-in editor — Transform, Warp, blend modes, crop, and mask tools all run in the browser. The scene and lighting stay the same; you only edit the print.
Steps
Step 01
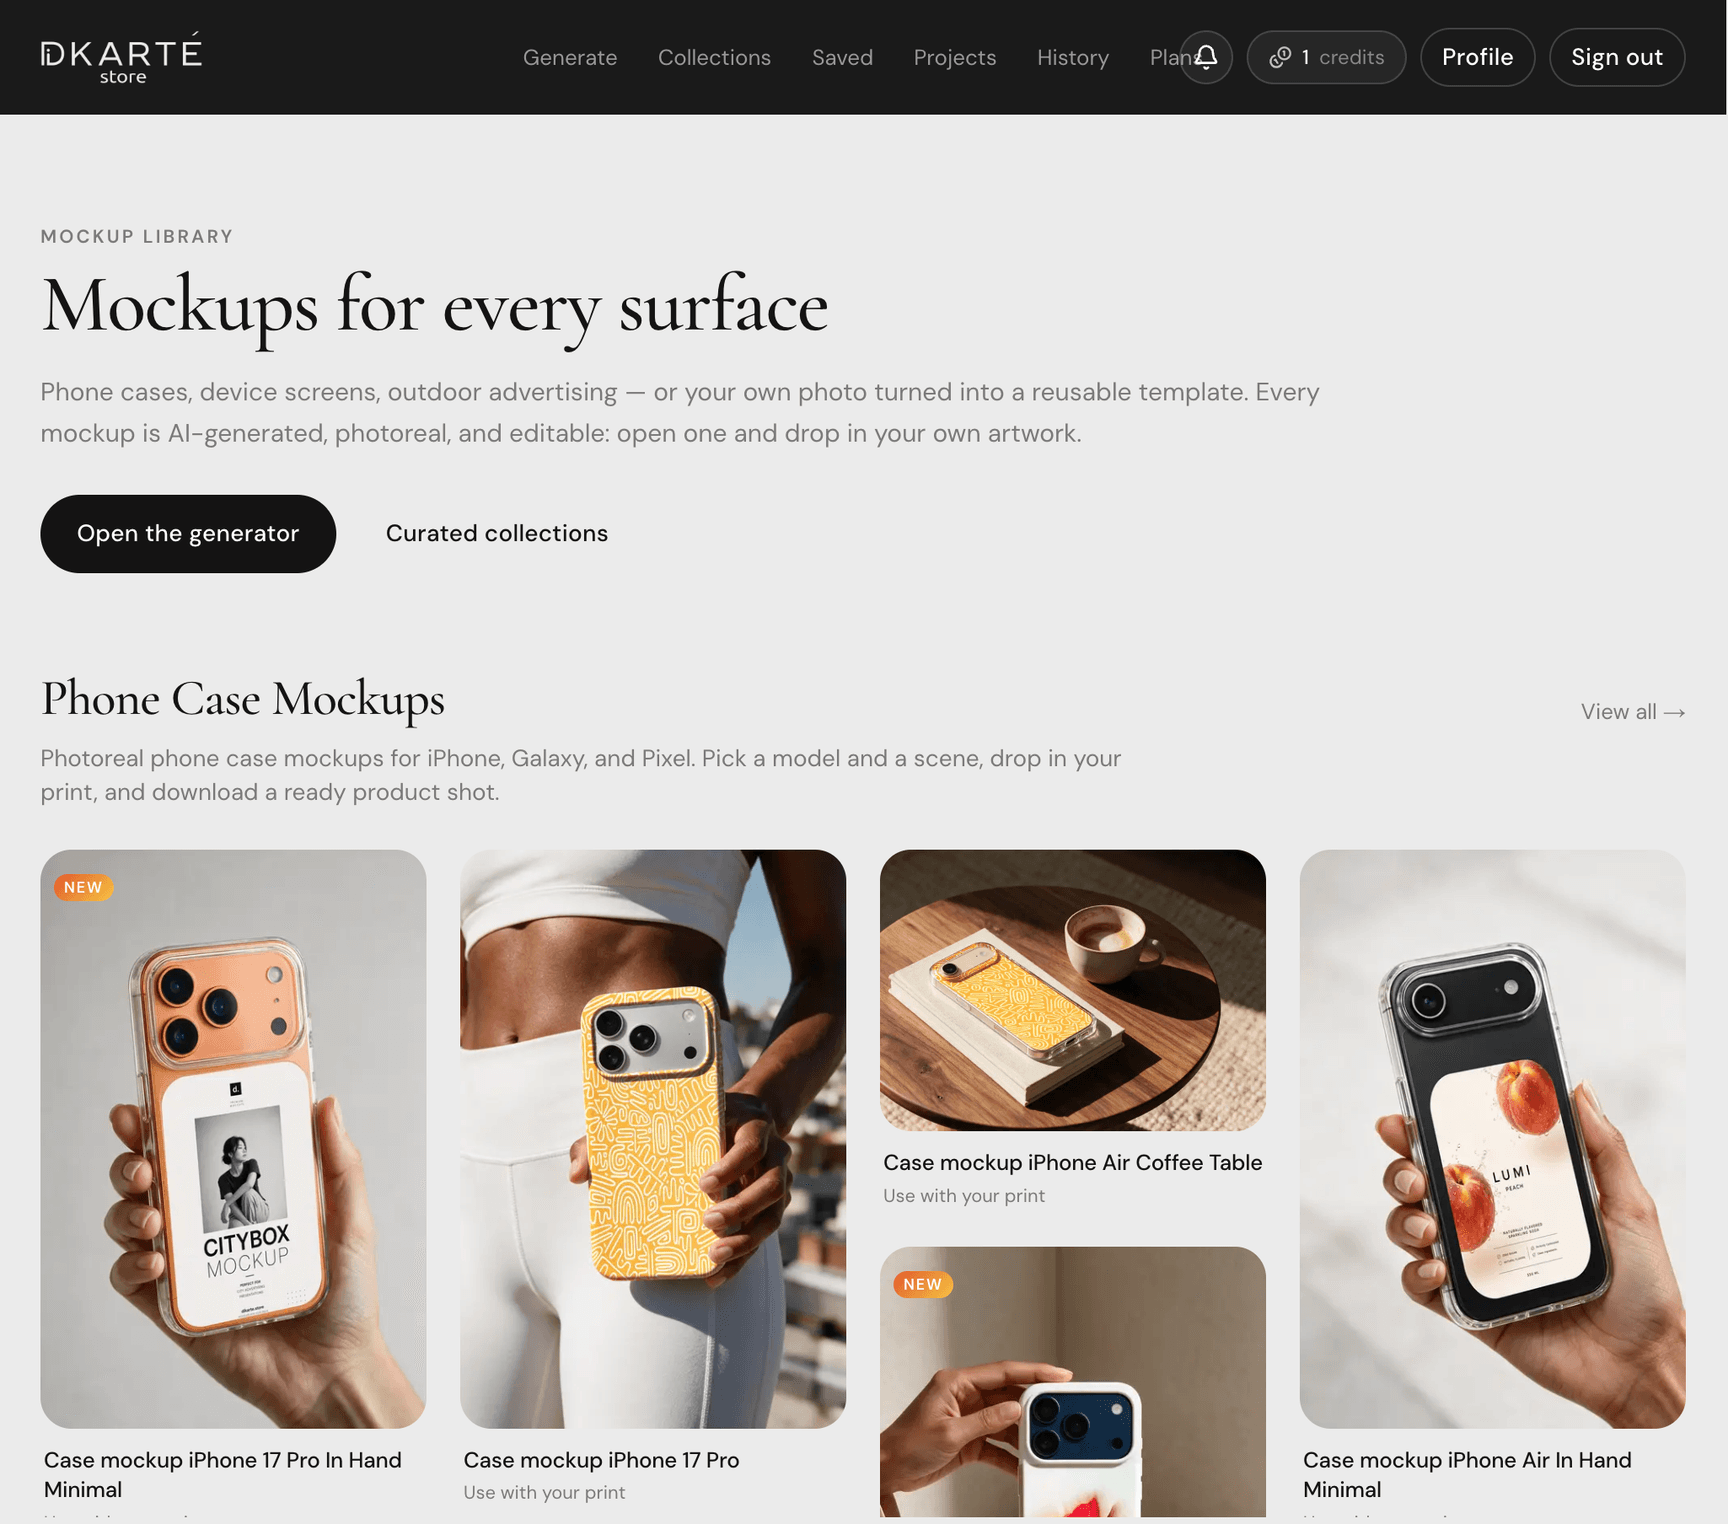
Pick a mockup you like
Open the home gallery or the Mockups page and filter by phone case, device screen, or advertising. Every published shot is a finished scene you can reuse.
Tap a card to preview it, or open it directly to start editing your print.
Step 02
Open it in the editor
Press “Open in editor” on the mockup page. You land in the generator with that scene loaded — same camera angle, case mask, and lighting.
You only replace the print; the AI does not redraw the whole image from scratch. Use Fullscreen in the preview for a larger canvas while you work.
Step 03
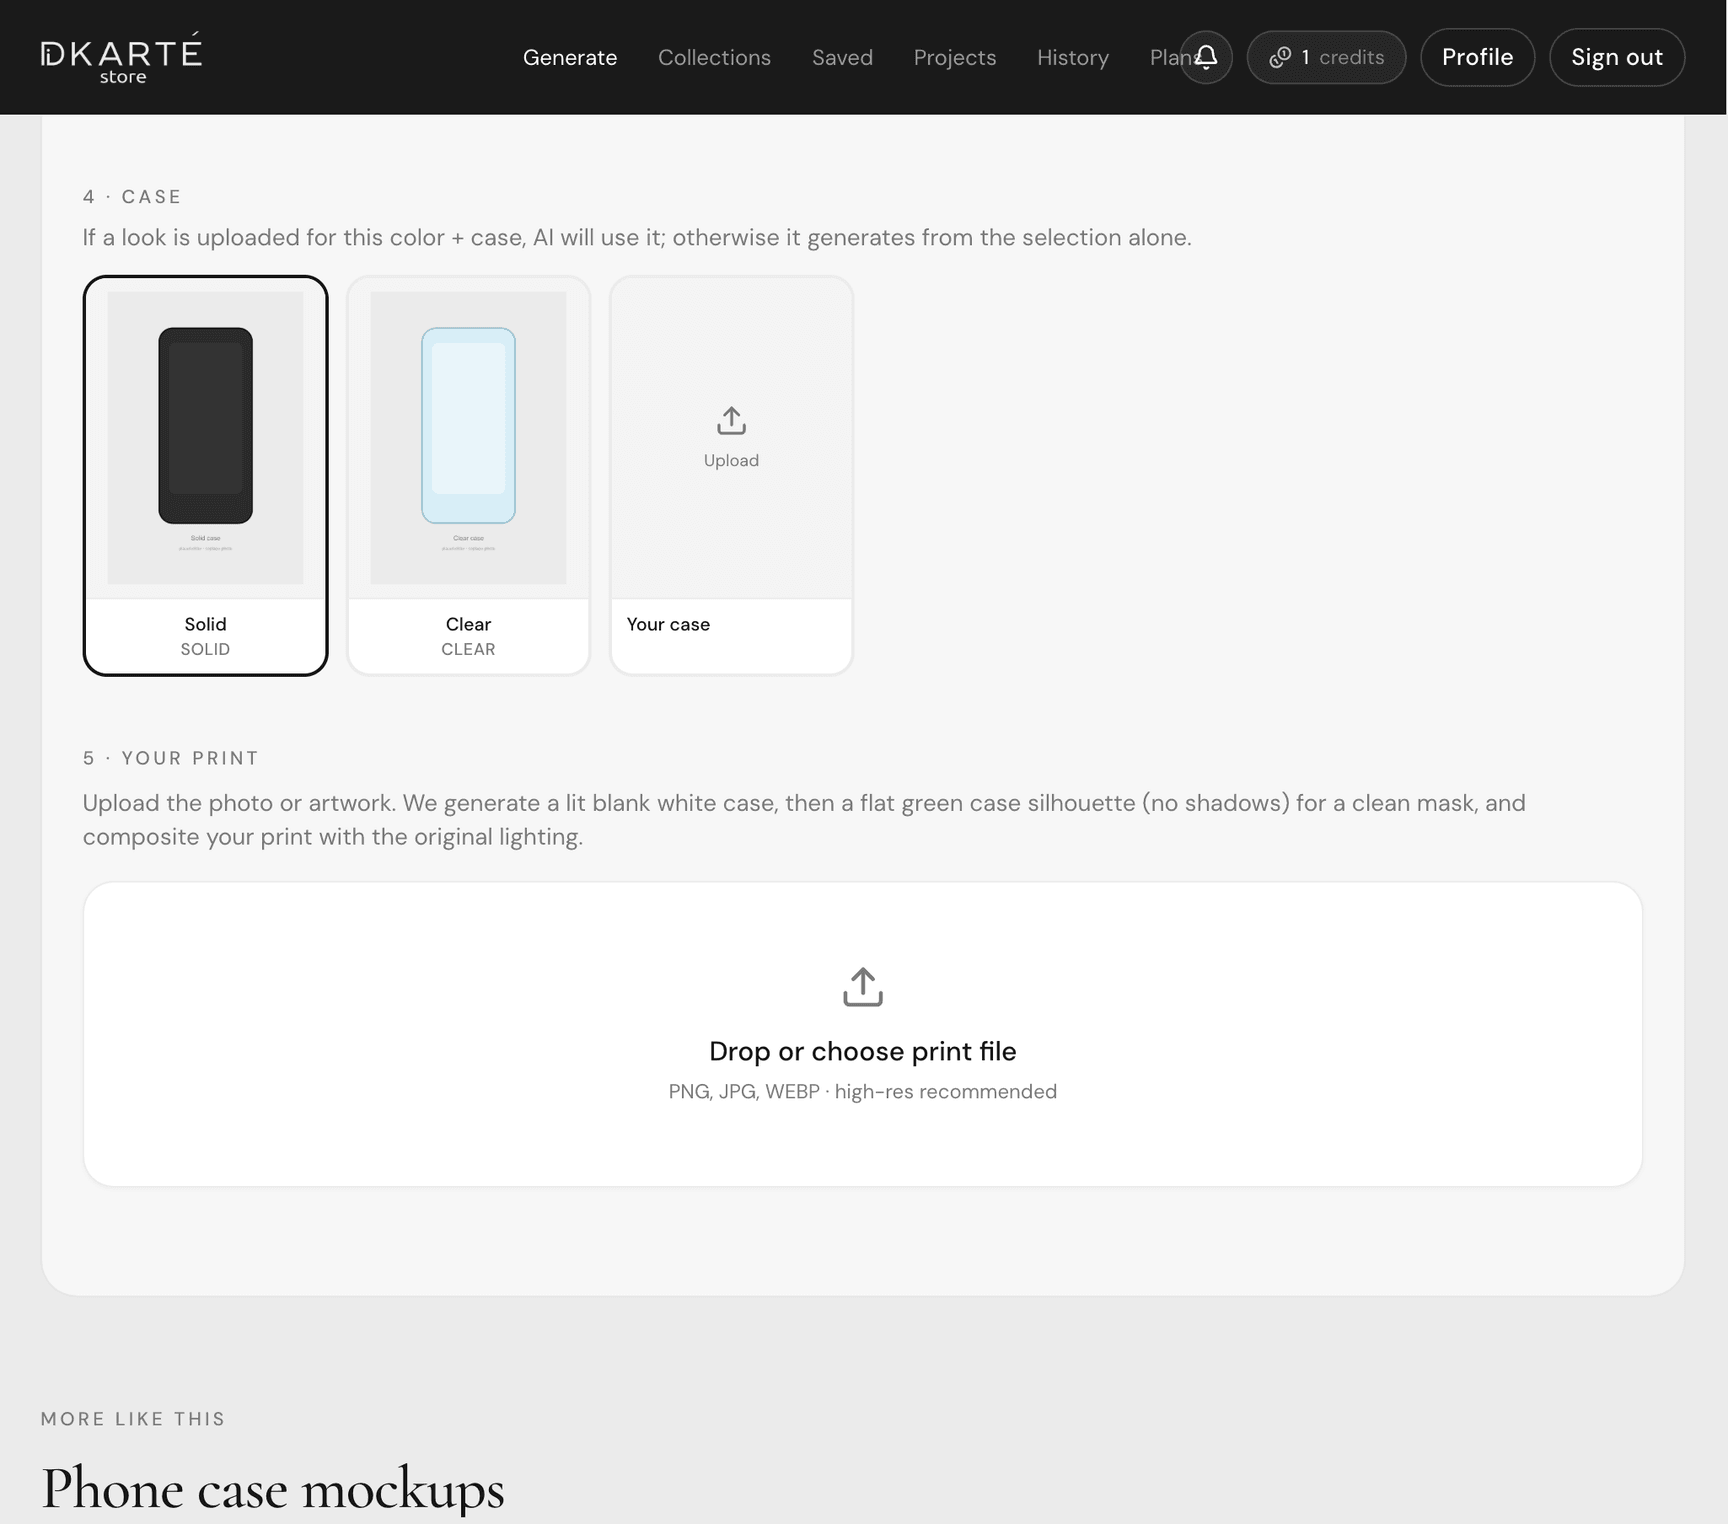
Upload your design
Drop your artwork onto the print area (or click Your design). The file is composited onto the existing surface with perspective and lighting.
Use a high-resolution PNG or JPG so logos and type stay sharp. You can swap the file anytime without regenerating the mockup.
Step 04
Transform & Warp — place the print
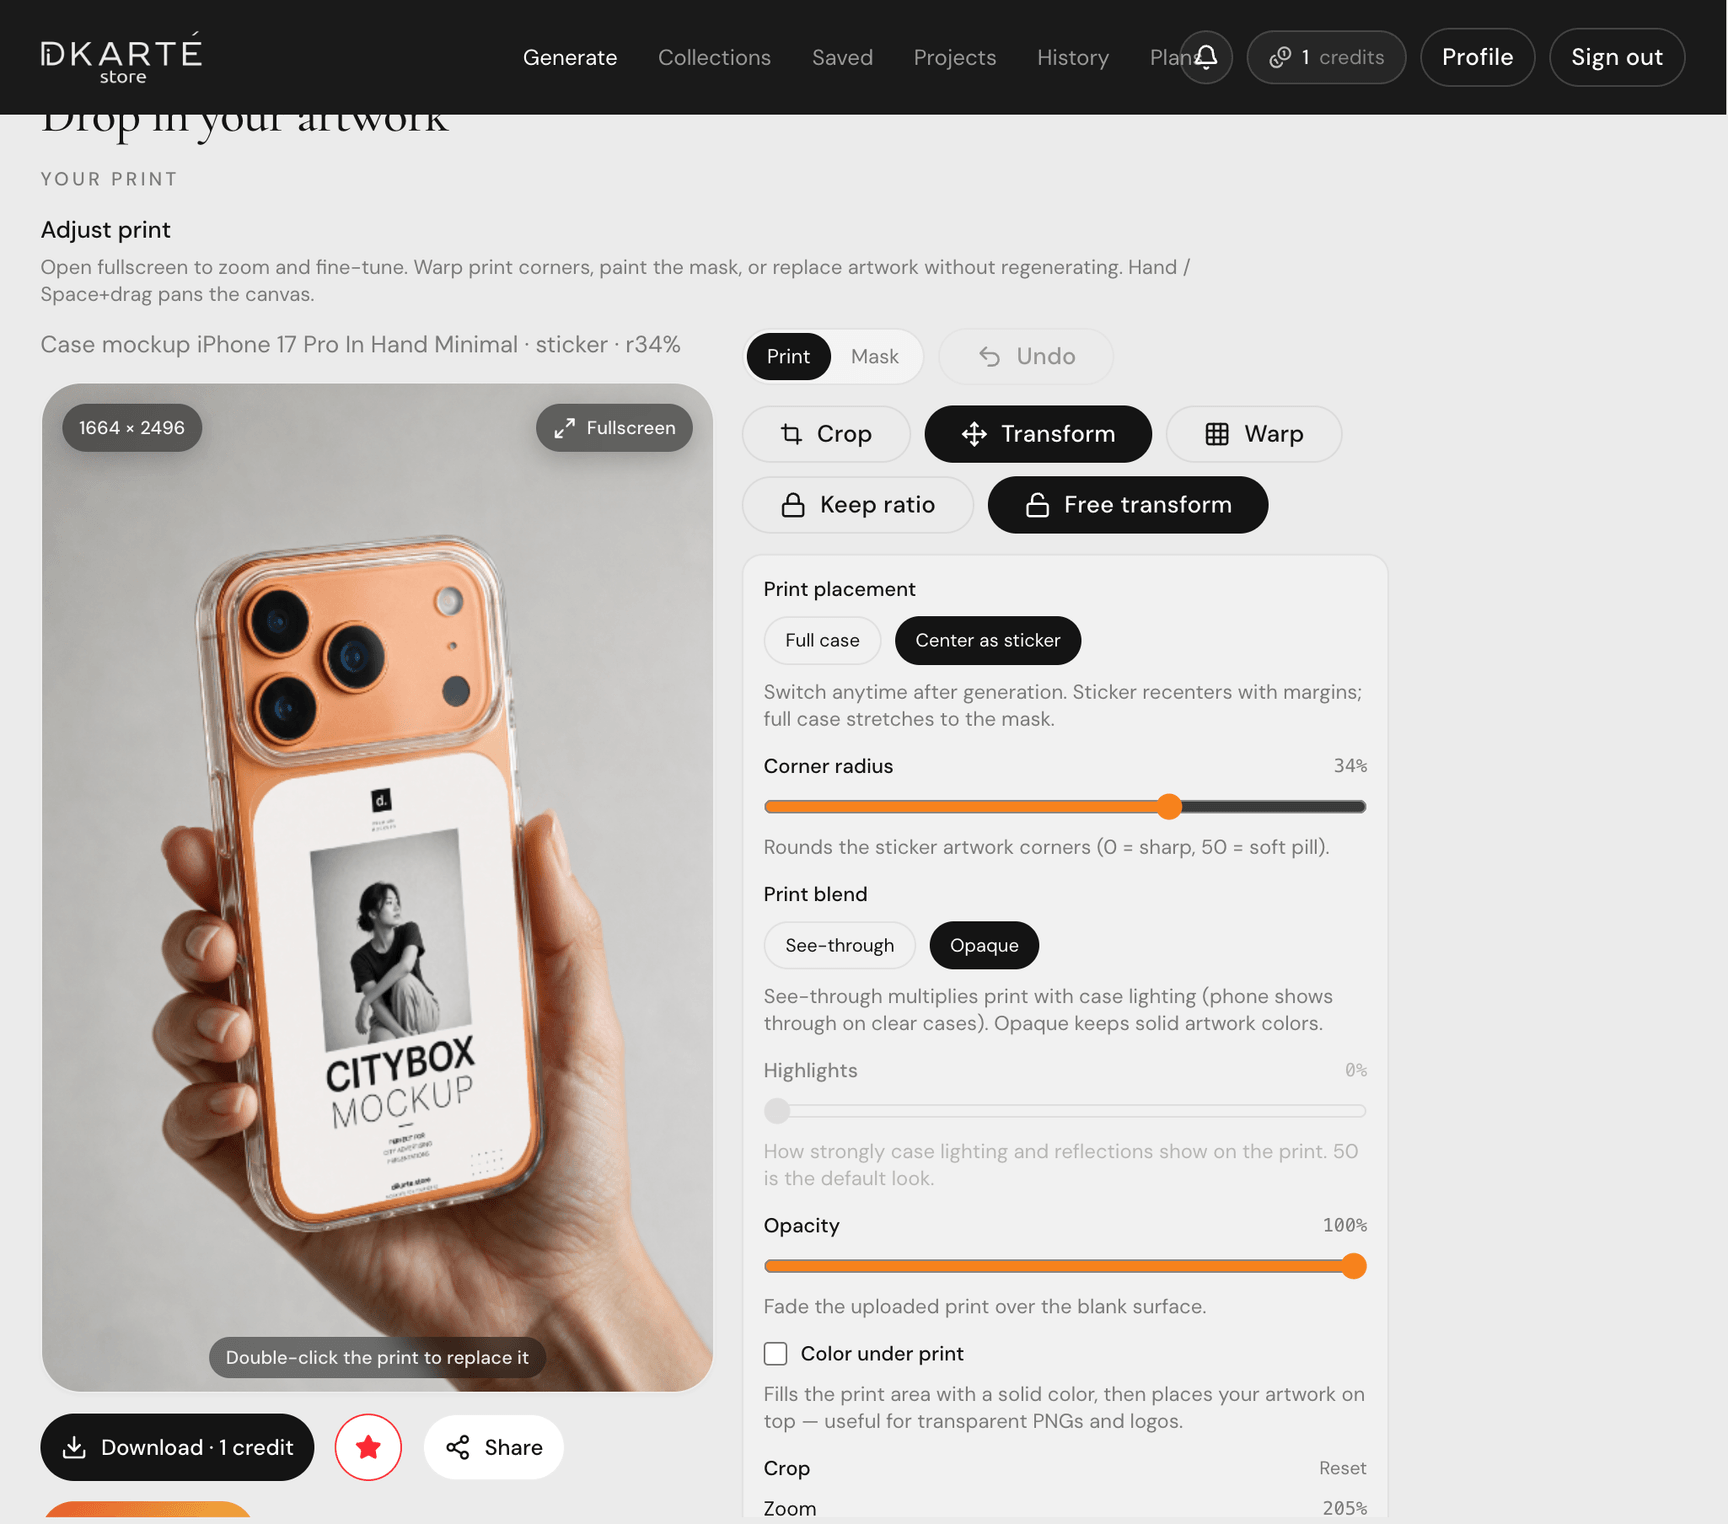
In the Print tab, use Transform to drag the four corner handles. Keep ratio scales the artwork evenly; Free transform lets each corner move independently for perspective and skew.
Switch to Warp for a 3×3 control grid — pull individual points to bend the print around curves (e.g. a wrapped case edge). Reset warp returns the grid to flat. Hand tool and Space+drag pan the canvas when zoomed in.
Step 05
Blend, opacity & crop
Still under Print: choose Full case (stretch to the mask) or Center as sticker (margins + corner radius). Set Print blend — See-through (case light and color show through), True color (hue preserved, lighting only), or Opaque (flat sticker). Adjust Highlights and Opacity to taste.
Print crop sits under Fill/Cover at the bottom — open it to frame which part of the uploaded file goes on the mockup, then Apply. Enable Color under print for transparent PNGs — pick a solid fill behind the artwork. On device mockups you can toggle iPhone status bar or MacBook browser chrome from the same panel.
Step 06
Refine the mask (optional)
Switch to the Mask tab when the print bleeds past the case edge or misses a corner. Brush adds printable area; Erase removes it. Line and Cut draw straight strips to paint or trim the mask.
Move nudges the whole mask and offers small width / height / rotate sliders. Grow / shrink mask expands or contracts the edge (yellow = grow preview, blue = shrink) — press Apply to commit. Feather softens edges locally; Edge hard / soft blurs or sharpens the entire mask boundary.
Step 07
Apply, then download
Every slider and handle updates the live preview. When the print sits right, press Apply to bake your edits into the mockup.
Because the mockup is editable on site, you can iterate — tweak placement, swap artwork, adjust the mask — without spending another generation credit. Then download or save to your account.
FAQ
- Do I need credits to remix a published mockup?
- Opening and editing uses the same flow as the generator remix mode. Many published mockups can be downloaded or remixed according to your plan; check the badge on the card.
- What is the difference between Transform and Warp?
- Transform moves the four corners of your print as a quad — best for overall position, scale, and perspective. Warp adds nine control points on a grid so you can bend the artwork locally, for example along a curved case edge.
- When should I use the Mask tab?
- When the automatic mask from the original shot is slightly off — a corner of the case still shows your old print, or part of the design is clipped. Paint, erase, or grow/shrink until only the printable surface is white in the mask preview.
- Will my print replace only the design area?
- Yes. The case mask, device screen, or ad surface from the original shot is preserved. Your file is warped and lit to match that area.